5 Airbnb Photo Mistakes That Are Costing You Bookings
Published on 4/2/2026
Most Airbnb hosts do not have a bad camera. They have photos that make a decent property look forgettable, and they have no idea why. The problems are almost always the same ones, appearing in listing after listing, and the fixes are faster than you think.
Here are the five mistakes that show up most often, what they actually cost you, and how to sort them out without hiring a photographer.
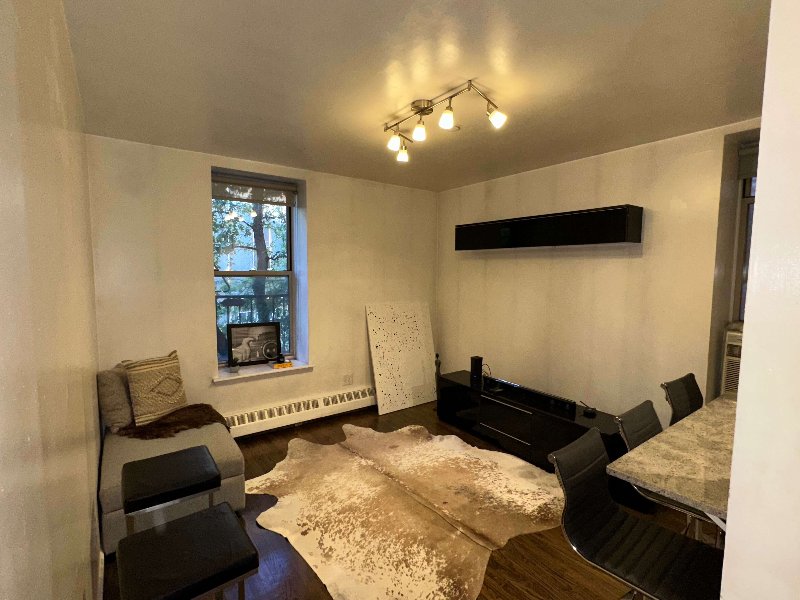
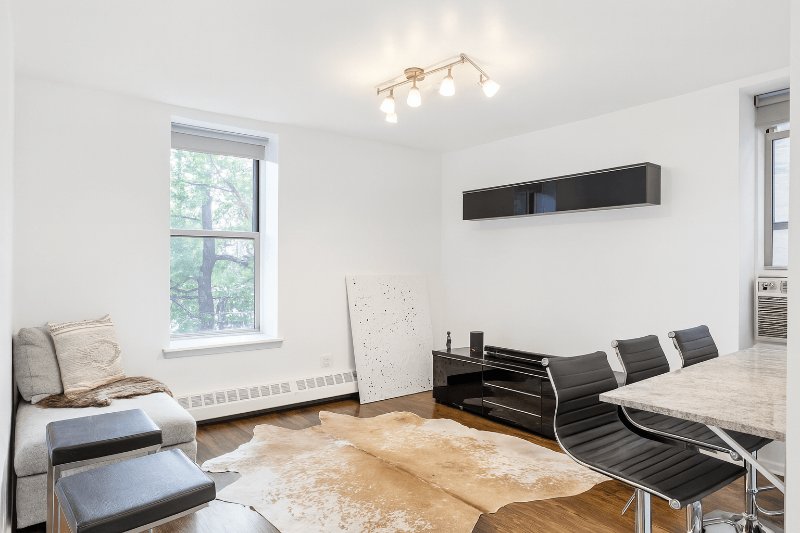
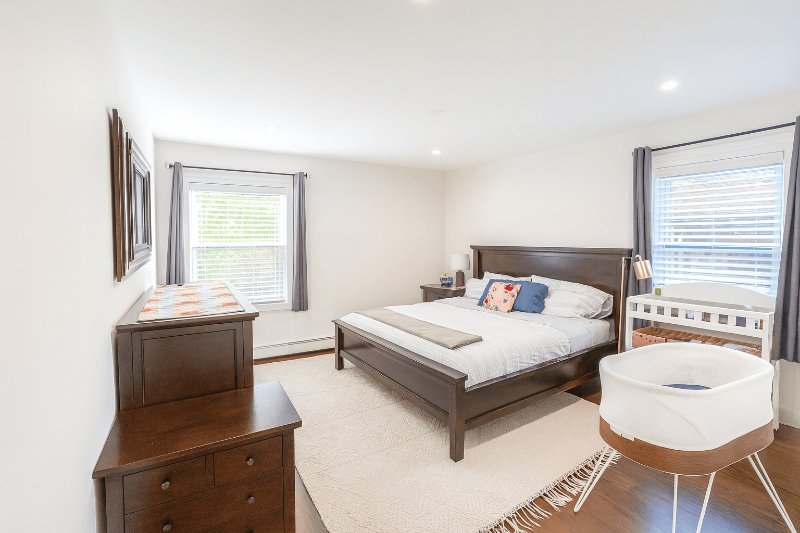
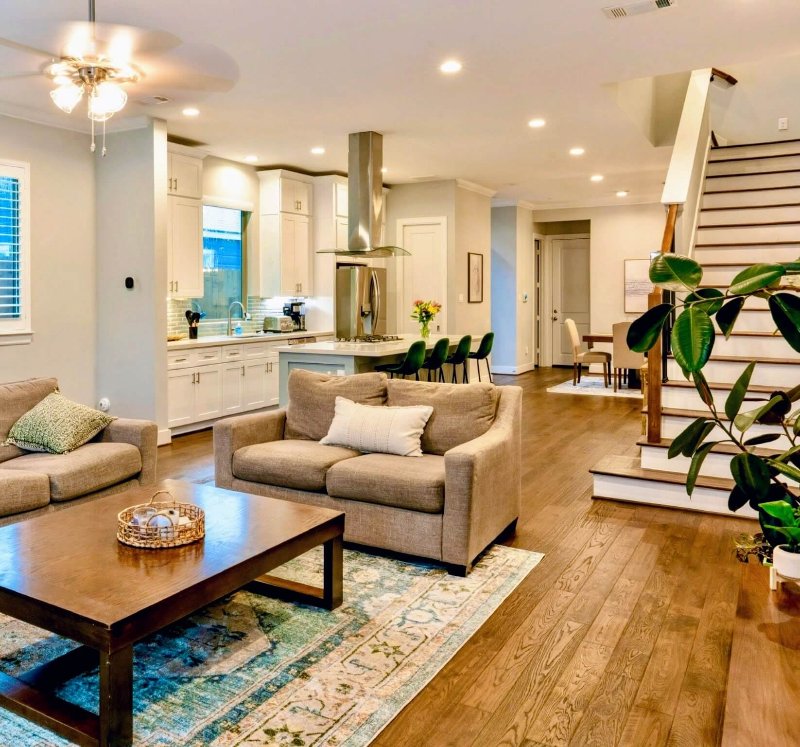
1. Shooting with the lights on at night
It sounds like a reasonable thing to do. The room is dark, so you turn the lights on. The problem is that indoor bulbs - even warm LED ones - emit a yellow-orange light that cameras read very differently from daylight. The result is a photo where white walls look amber, neutral sofas look brown, and the whole space feels dim and slightly grimy even if the room is spotless.
Guests cannot always articulate this. They just know the photos feel off, and they scroll past.
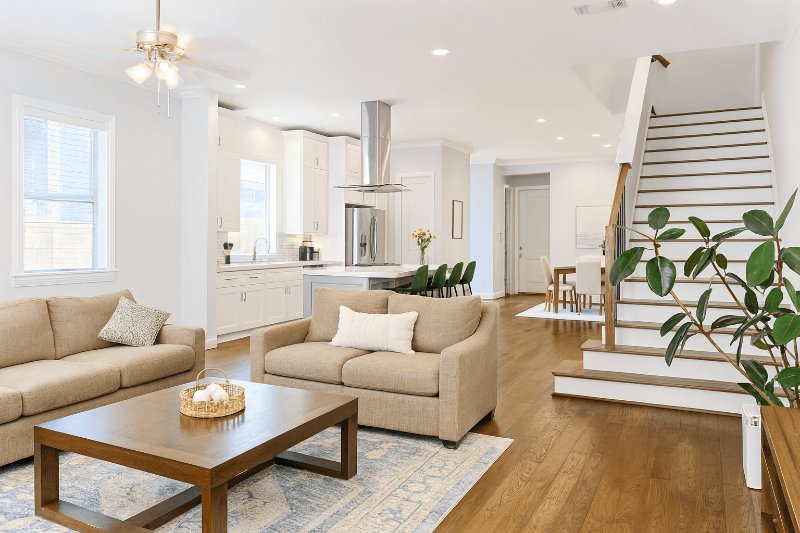
The fix: shoot during the day with natural light coming in, turn off all artificial lights, and open blinds fully. If you have to shoot in the evening, leave the lights off and use as much ambient light as possible, then correct the white balance in post. AI enhancement handles this automatically - the warm cast is corrected to a neutral daylight tone without changing anything else about the photo.
 Before
 After
After
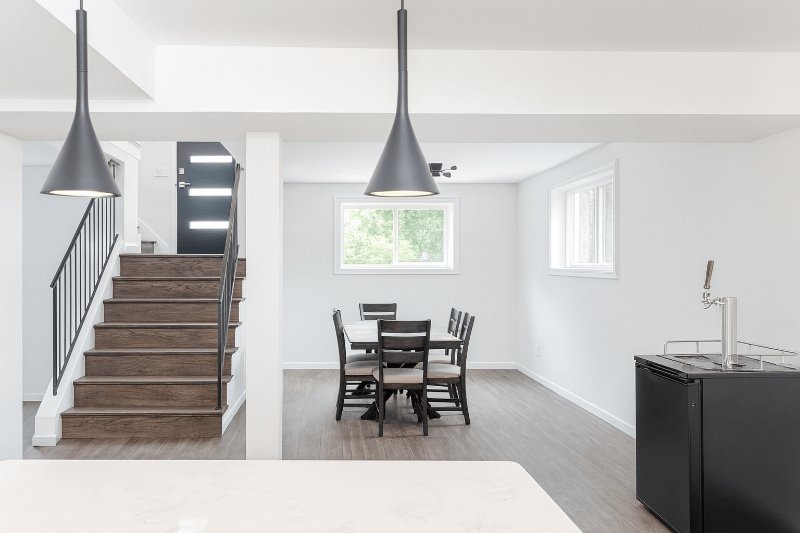
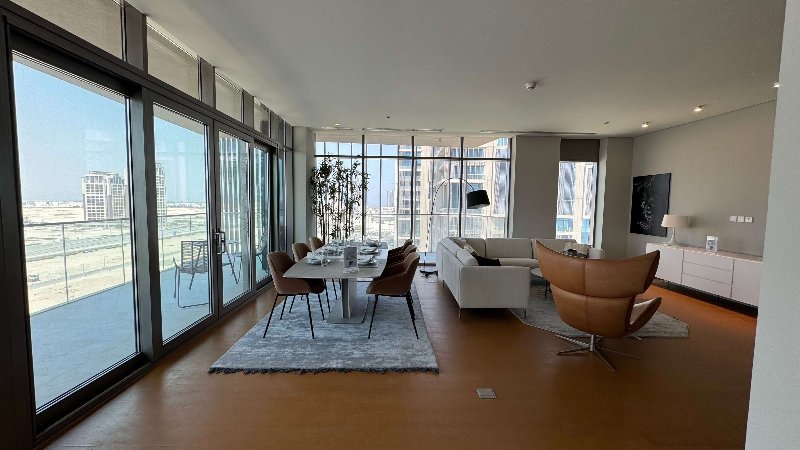
2. Letting the windows blow out
This is the most common technical problem in property photography, and it happens because cameras cannot handle the contrast between a bright window and a dark interior without some trade-off.
Most phones and cameras default to exposing for the room. The result is that windows become pure white rectangles with no detail - no trees outside, no street view, no sky. You lose the sense of natural light, the connection to the outside world, and often the main feature that makes the room feel spacious.
The fix in the moment: shoot from an angle that puts windows at the side of the frame rather than directly ahead. This reduces the contrast range and makes it easier for the camera to balance both. If the window has to be in frame, shoot multiple exposures and blend them, or let AI enhancement recover the highlights in post - modern tools do this well, pulling back the blown areas without affecting the rest of the image.
 Before
 After
After
3. Photographing a room that is staged for living, not for photography
There is a difference between a room that looks good in person and a room that photographs well. A fruit bowl on the kitchen counter, a laptop charger trailing across the desk, an extra throw pillow stacked at an odd angle, a pair of shoes visible in the corner - none of these things are wrong when you are living in a space. But cameras flatten depth and context, so small distractions become the first thing the eye goes to.
This is not about creating a hotel room. It is about removing the things that compete with the selling points.
Before you shoot any room, do a five-minute pass:
- Clear all surfaces of anything that is not decorative
- Straighten every cushion, fold every throw
- Remove personal items from the frame (toiletries, chargers, shoes)
- Close wardrobe doors and toilet lids
- Tuck away cables
If something is already in the photo, AI tools can reduce small distracting elements without a full re-shoot. But it is faster to clear the room first.
 Before
 After
After
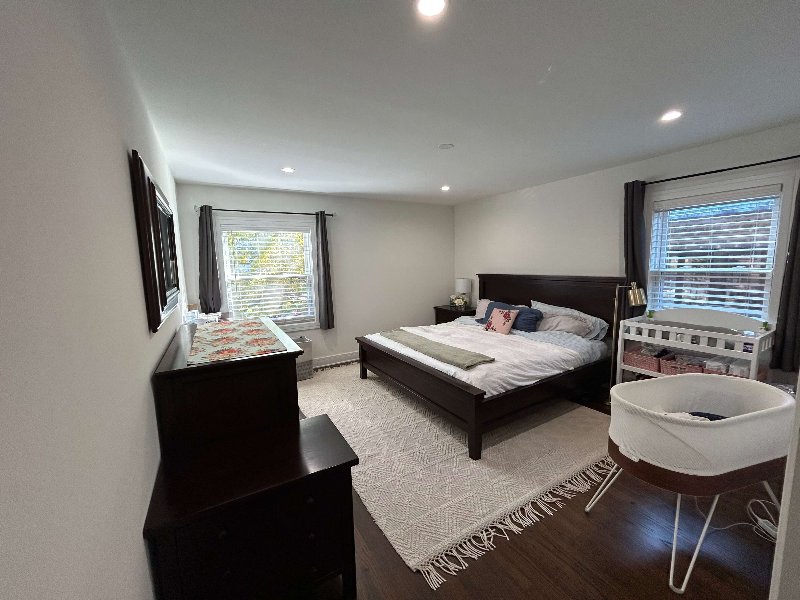
4. Shooting from standing height
Most people photograph rooms the same way they see them: standing up, holding the phone at chest or face height. This is exactly the wrong angle for interior photography. It compresses the floor, makes ceilings feel low, and cuts off the bottom third of the room.
Real estate and interior photographers shoot from roughly waist height - around 1 to 1.2 metres off the floor. This angle gives more floor in the frame, more ceiling, and a sense of depth that makes rooms feel significantly larger than they are in a standing-height shot.
The fix is free and takes no equipment: crouch down before you take the shot. Use a small tripod if you want consistency across rooms. The difference is immediately visible.
 Before
 After
After
5. Skipping the exterior
A surprising number of listings have excellent interior photos and a single, flat, poorly lit exterior shot - or no exterior at all. This is a significant missed opportunity. The exterior is the first physical impression a guest has of the property. If the exterior photo looks uninviting, it undercuts the interior photos that follow.
Common exterior mistakes: shooting on an overcast day, shooting at the wrong time (flat midday light, or late evening when the facade is in shadow), not clearing the driveway or front path, and not stepping back far enough to show the full property in context.
The best time to shoot an exterior is in the morning when the sun is at a low angle and hitting the front of the building directly. If the only photo you have was taken on a grey day, AI enhancement can replace the sky and restore the facade colours - the result reads as a naturally well-lit photograph rather than an edited one.
The common thread
All five of these mistakes have the same root cause: the photo was taken without thinking about how a potential guest reads it. Guests look at listing photos for seconds before deciding whether to click through or scroll on. Every photo either builds confidence in the property or raises a question about it.
None of these fixes require expensive equipment. Most of them cost nothing at all. The ones that need post-processing - white balance correction, window recovery, sky replacement - are exactly what tools like ProntoPic for Airbnb hosts handle automatically.
If you are not sure which of these issues are affecting your own listing, upload a photo and see what the enhancement catches. The first three are free, no credit card required.
See what ProntoPic does to your listing photos
Upload any property photo and get a professional-quality result in under 60 seconds. First 3 photos are free, no credit card required.
Try ProntoPic free