How to Improve Airbnb Photos: A Host's Checklist
Published on November 13, 2026
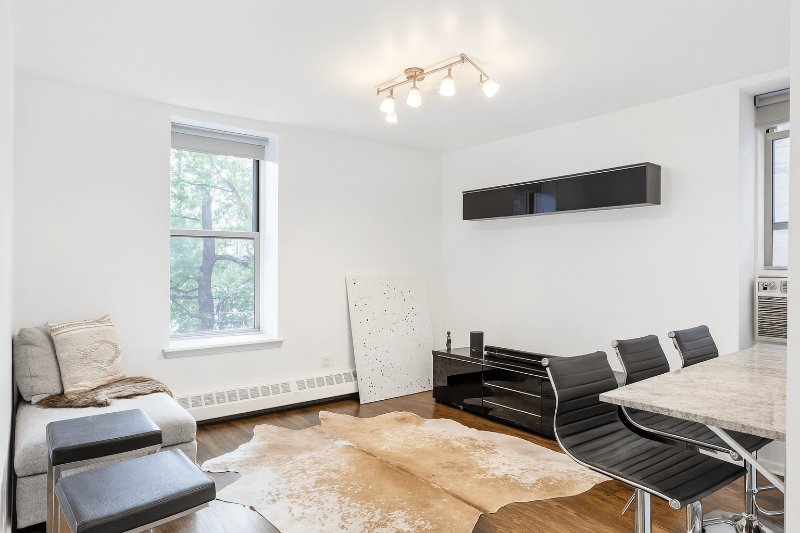
Guests decide whether to click on your listing from one small photo in search results, and whether to book from the next five. If your place is nicer in person than in the photos, you are losing bookings you already earned.
This is a checklist for improving Airbnb photos, in the order that makes the most difference. You can do all of it with a phone.
1. Prepare the place like a guest is arriving
Photograph what the guest will find at check-in: beds made with the linen you use, towels out, surfaces clear, toilet lid down, bins and cleaning products out of sight. Remove your personal items. Do not add things for the photo that will not be there for the stay, such as flowers, a fruit bowl or a breakfast tray. Guests notice, and they mention it in reviews.
2. Use daylight and turn every light on
Open curtains and blinds, switch on every lamp, and shoot during the day. Dark photos are the most common problem in Airbnb listings and the easiest to avoid. If a room has no good daylight, shoot it anyway with all the lights on and correct it afterwards (step 6).
3. Shoot landscape, level, from a corner
Airbnb shows photos in a horizontal frame in search results and in the listing grid, so vertical photos get cropped. Hold the phone level at chest height, turn on the camera grid, and stand in a corner or a doorway so two walls are in the frame. Use the 1x lens where you can. The ultra wide lens distorts beds and sofas and makes guests expect a bigger room than they get.
Airbnb recommends photos at least 1,024 pixels wide. Any recent phone is far above that, so do not use screenshots or photos saved from a messaging app, which are compressed.
4. Cover the photos guests look for
- Every room a guest can use, including each bedroom and each bathroom.
- Every bed. Guests count beds in photos and compare with the listing.
- The kitchen, with the appliances visible.
- The workspace, if you list one.
- Outdoor space and the view, as it looks from the property.
- The building and the entrance, so guests recognise it on arrival.
- The amenities you charge for: hot tub, pool, parking, fireplace.
Most good listings have 20 to 30 photos. Add captions and assign photos to rooms in Airbnb's photo tour, so guests can see which bed is in which room.
5. Choose the cover photo on purpose
The first photo is the only one shown in search results. Pick the brightest landscape photo of your best room or your best feature, the thing that makes your place different from the ten listings next to it. For most homes that is the living room or the view, not the outside of the building. The next four photos appear in the grid at the top of your listing, so use them for the main bedroom, kitchen, bathroom and outdoor space.
You can test yours with the free Airbnb cover photo checker.
6. Fix light, colour and straight lines
Even well taken phone photos have three problems: the room is darker than it looked, the walls are yellow from the bulbs, and the vertical lines lean. Correcting those three is what makes a phone photo look professional.
- Exposure: brighten the room without burning out the window.
- White balance: remove the yellow or blue cast so whites are white.
- Verticals: straighten walls and door frames.
You can do this by hand in your phone's editor or in Lightroom, or in one click with an AI tool. See 10 before and after examples for what the difference looks like.
7. Stay inside Airbnb's rules
Airbnb's ground rules for hosts say photos must accurately represent the space, and that it will ask hosts to remove content edited with AI or other tools to hide damage or add amenities the listing does not have. Correcting light and colour is fine. Removing a stain, adding furniture or changing the view is not. We cover this in detail in Airbnb's AI photo rules explained.
8. Keep the photos up to date
Replace photos when you change furniture, linen or layout, and add seasonal ones if the outdoor space looks very different in summer and winter. A guest who arrives to a different sofa starts the stay with a doubt.
The quick version with ProntoPic
ProntoPic does step 6 for you. Upload a photo and it corrects exposure, white balance and perspective, and shows you the before and after. It works on the photo you took and keeps the room as it is. It costs $1.50 per photo with no subscription, and the first 2 photos are free with no card, so you can start with your cover photo.
Try the Airbnb photo editor, then run your listing through the free listing checker and title checker.
Questions
Can I improve my Airbnb photos without a photographer?
Yes. A recent phone, daylight, a level camera and basic corrections to light and colour get you most of the way. A photographer is worth it for high-end properties or when you have many units to shoot in one day.
How many photos should an Airbnb listing have?
Enough to show every room and every bed, usually 20 to 30. More is not better if the extra photos repeat the same room from similar angles.
Which photo should be first on Airbnb?
The brightest landscape photo of the feature guests book you for. It is the only photo shown in search results, so it decides whether guests click.
Do better photos improve Airbnb ranking?
Photos that get more clicks and bookings help your position in search. We explain how in do better Airbnb photos improve your ranking?